What Homeowners Usually Want to Know First
A Level 2 chimney inspection sounds like a single event, but it is really a sequence of steps, and knowing that sequence ahead of time makes the visit far less mysterious. Homeowners in Pasadena often ask us the same question before we arrive: what exactly are you going to do up there, and what will I have to show for it once you leave? This piece walks through the visit itself, step by step, so you know what to expect before our truck pulls into the driveway.
Why the Order of Operations Matters
A Level 2 inspection is required for real estate transactions, after a chimney fire, following an earthquake, when converting fuel types, or when a homeowner has already noticed a problem. Regardless of the reason for the visit, our technicians follow the same structured sequence every time. That consistency is intentional. It means nothing gets skipped because a homeowner is in a hurry, and it means the report you receive at the end reads the same way whether the technician who wrote it worked on your chimney last spring or last week.
Step One: The Walkthrough Conversation
Before any tools come out, the technician spends a few minutes talking with you. We ask when the fireplace was last used, whether you have noticed smoke smell, staining, or unusual sounds, and what prompted the inspection request. This conversation shapes where we spend extra time later. A homeowner in Altadena who mentions a recent brush fire evacuation gets a closer look at the crown and flashing for ember damage. A homeowner in San Marino preparing to sell gets extra attention paid to anything an appraiser or buyer's inspector is likely to flag.
Step Two: The Exterior Pass
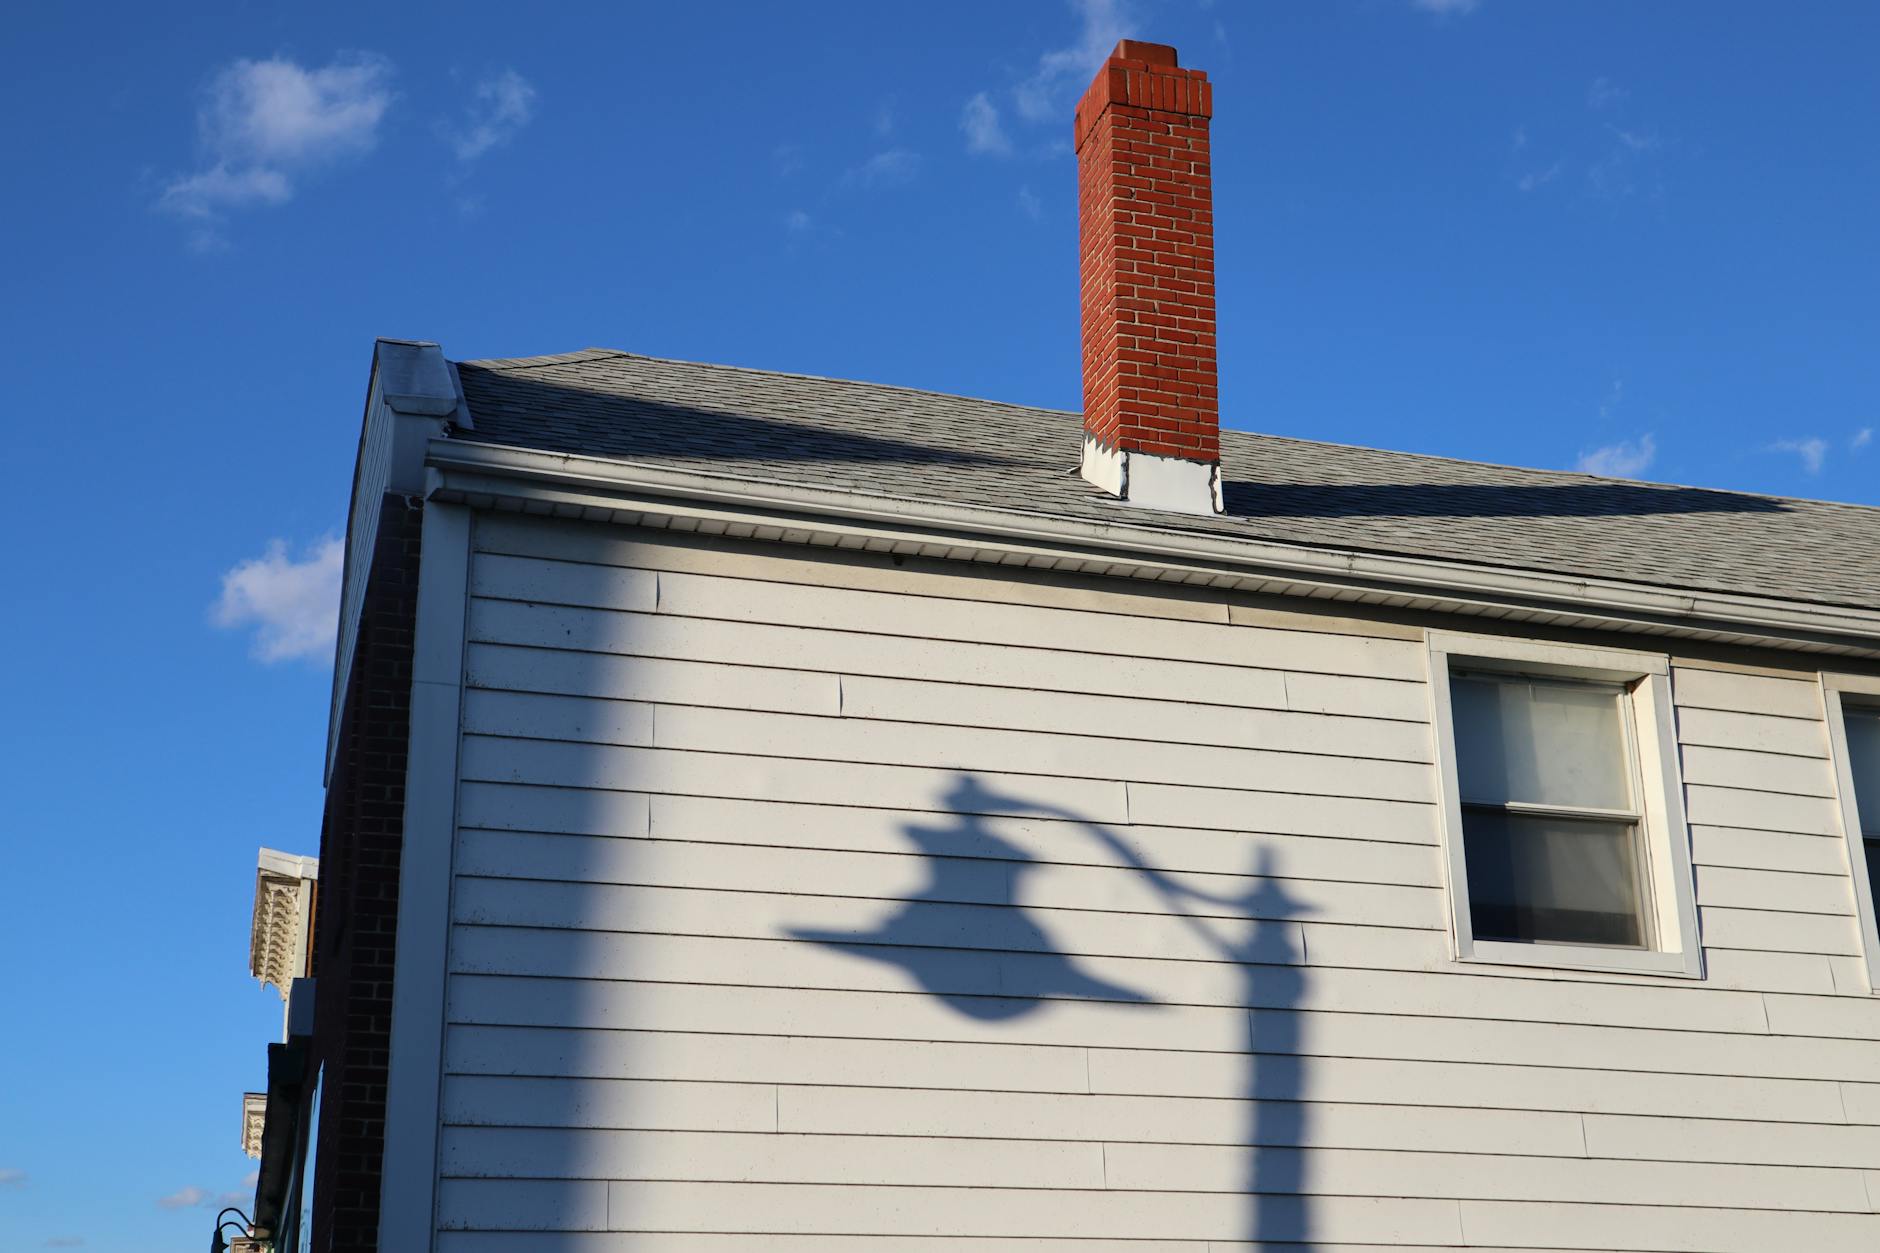
Next comes the roof access portion of the visit. The technician examines the chimney crown for cracking, checks the flashing where the chimney meets the roofline, and inspects the masonry for spalling or eroded mortar joints. Photographs are taken at this stage, not after the fact from memory. Each image is tied to a specific component so that when you read the report later, you can match a photo of a hairline crack directly to the line item describing it.
Step Three: The Interior Pass
Back inside, the technician opens the damper and examines the firebox walls, the smoke shelf, and the smoke chamber for visible damage. This is where a flashlight inspection reaches its limit, which is exactly why a Level 2 inspection exists. The interior surfaces of a flue are rarely visible from the firebox floor, and problems that live higher up the chimney do not show themselves during a basic walk-around.
Step Four: The Camera Scan
The camera scan is the part homeowners are usually most curious about. A specialized camera travels the length of the flue, recording continuous video as it goes rather than a handful of still frames. The technician watches the feed in real time, narrating what the lens is passing so nothing gets missed in the footage later. This portion of the visit typically takes the longest, since the camera has to travel slowly enough to capture usable detail at every joint and bend.
What the camera picks up includes cracked flue tiles, gaps at the mortar joints between tiles, creosote thickness and staging, water staining on the interior liner surface, and any obstruction from nesting material or debris. None of this is guesswork. The footage becomes part of the permanent record for your chimney, which matters if you sell the home later or need to reference a prior inspection during a future repair conversation.
Step Five: Accessible Areas
If your chimney passes through an attic space, crawl space, or basement, the technician checks those areas too. This step confirms proper clearance from combustible framing and looks for signs of heat damage or moisture intrusion that would not be visible from inside the living space. Homeowners in older Pasadena craftsman homes and newer construction in Alhambra both get this same level of attention, since clearance issues can show up in a house of any age.
What Gets Documented
Every finding from the visit gets written into a single report rather than relayed verbally and then forgotten. The report we leave with you includes:
- - A written assessment of each component examined, from crown to cleanout
- Still photographs pulled from both the exterior pass and the camera footage
- A plain description of any deficiency, written so a non-technician can understand it
- A priority ranking so you know what needs attention now versus what can wait
- A summary paragraph tying the findings together for quick reference
We do not hand over a stack of jargon and expect you to interpret it. If the report flags deteriorated mortar joints, it explains in plain language what that means for the chimney's near term condition, not just a technical label.
How Long the Whole Visit Takes
A thorough Level 2 inspection generally runs somewhere between forty five minutes and an hour and a half. The variables are the height of the chimney, whether there is more than one flue, how accessible the attic or crawl space is, and whether something unexpected turns up mid inspection that warrants a closer look. If the technician finds something during the camera scan that needs a second pass, that extra time goes into getting you an accurate picture rather than rushing to finish on schedule.
Preparing Before We Arrive
A few small steps on your end speed up the visit and help the technician focus on the chimney itself rather than logistics:
- - Clear the hearth area so the firebox and damper are easy to reach
- Make sure the attic hatch or crawl space access is not blocked by storage
- Move any vehicles that might be parked under roof access points
- Have any prior inspection reports or repair invoices handy
- Write down specific concerns so nothing gets forgotten once we are on site
After the Report Is In Your Hands
Once you have the report, the next step is entirely up to you. If everything checks out clean, you now have documentation to keep with your home records, which is useful when you eventually sell or refinance. If deficiencies turn up, we walk through the priority ranking with you and can provide a clear quote for any recommended repair work. Nothing gets scheduled without your sign off, and the report itself is yours to keep regardless of whether you move forward with repairs through us.
Why This Process Matters for San Gabriel Valley Homes
Homes across the San Gabriel Valley, from the older masonry construction common in Pasadena and South Pasadena to newer builds in Alhambra and Monrovia, each carry different wear patterns depending on age, prior renovation history, and how often the fireplace has been used. A structured, documented process is what lets our technicians catch the same category of problem whether it shows up in a chimney built in the 1920s or one installed during a recent remodel. The process does not change based on the house. It changes based on what the camera and the walkthrough actually reveal.
Scheduling Your Inspection
If you are buying or selling a home in the Pasadena area, recovering from a chimney fire, or simply want a clear picture of where your chimney stands, Forge Path Services Chimney Sweep can walk you through this exact process at your home. Call us at (818) 671-0728 to schedule a visit, and expect the same structured approach described above, from the initial walkthrough conversation to the written report we leave in your hands before we go. Our technicians run this same visit routinely for households in Pasadena and Altadena, out toward Alhambra and San Marino, and up into La Canada Flintridge and Montrose.
Need Professional Chimney Service?
Our technicians are ready to help with all your chimney and fireplace needs. Contact FP Chimney Sweep today for expert service throughout the Pasadena and the San Gabriel Valley service area.